Creating a Collection
To create a collection in Wapal:
Step 1: Visit our official product link at launchpad.wapal.io
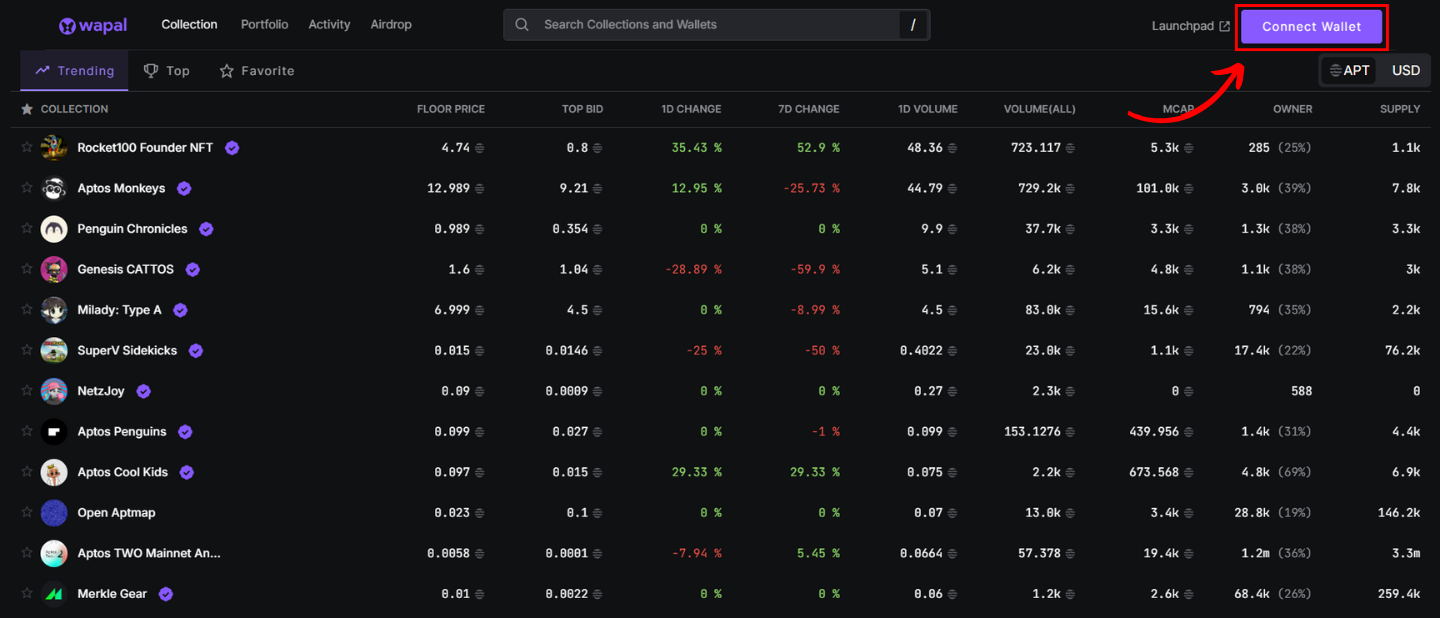
Step 2: Click on the Connect Wallet button on the homepage.
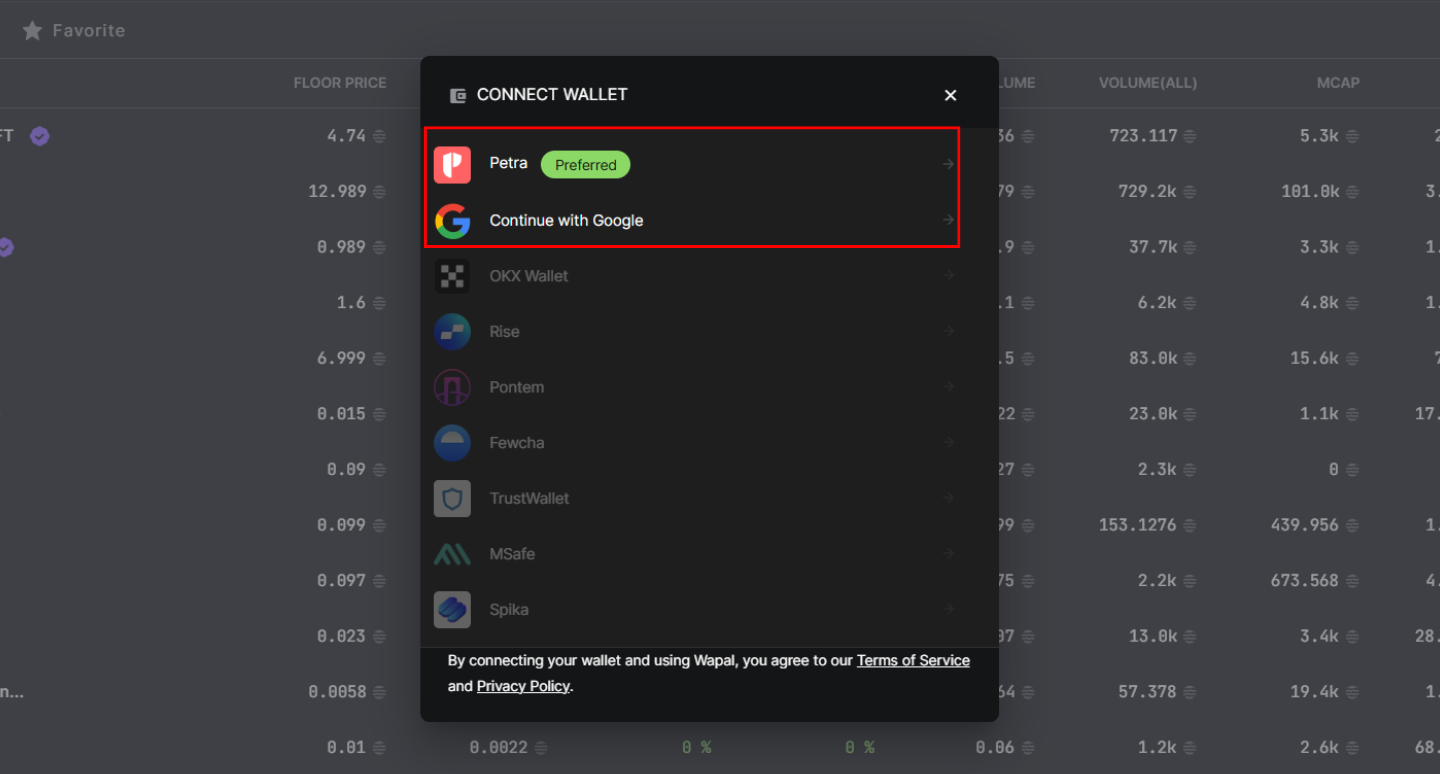
Step 3: Choose how you want to connect your wallet.
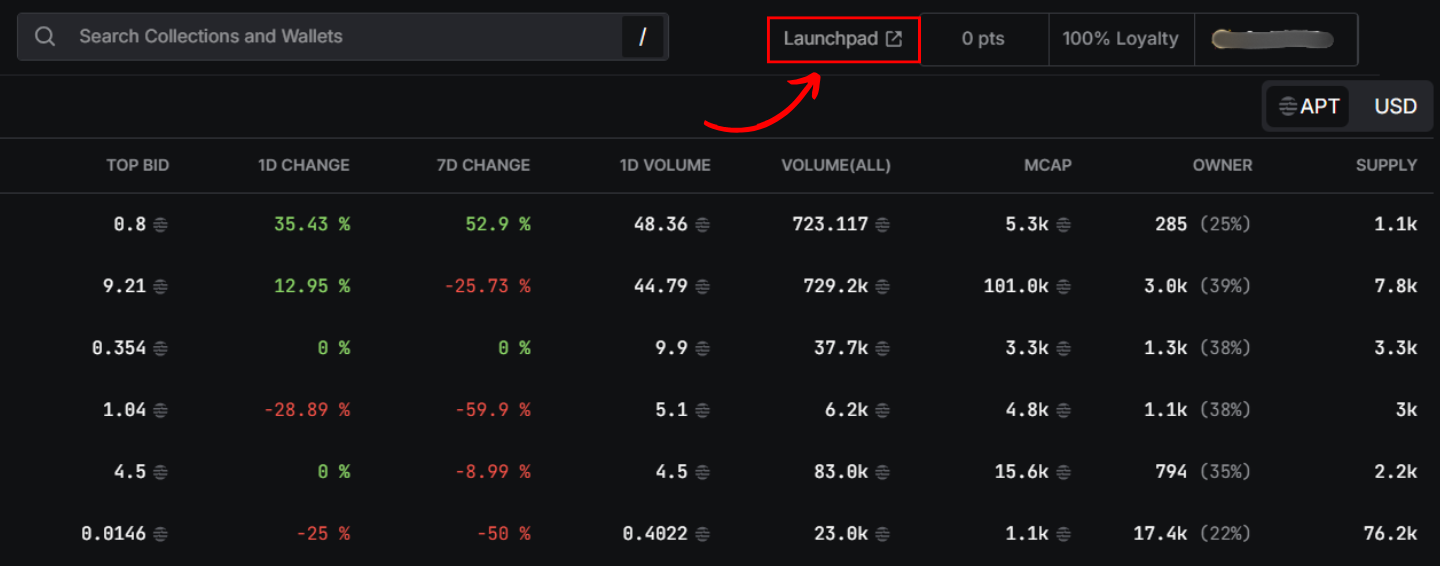
Step 4: Click Launchpad in the top right corner once you connect the wallet.
Step 5: Click the Create NFT Vault button at the top right and name it.
Avoid using special characters or spaces in the vault name.

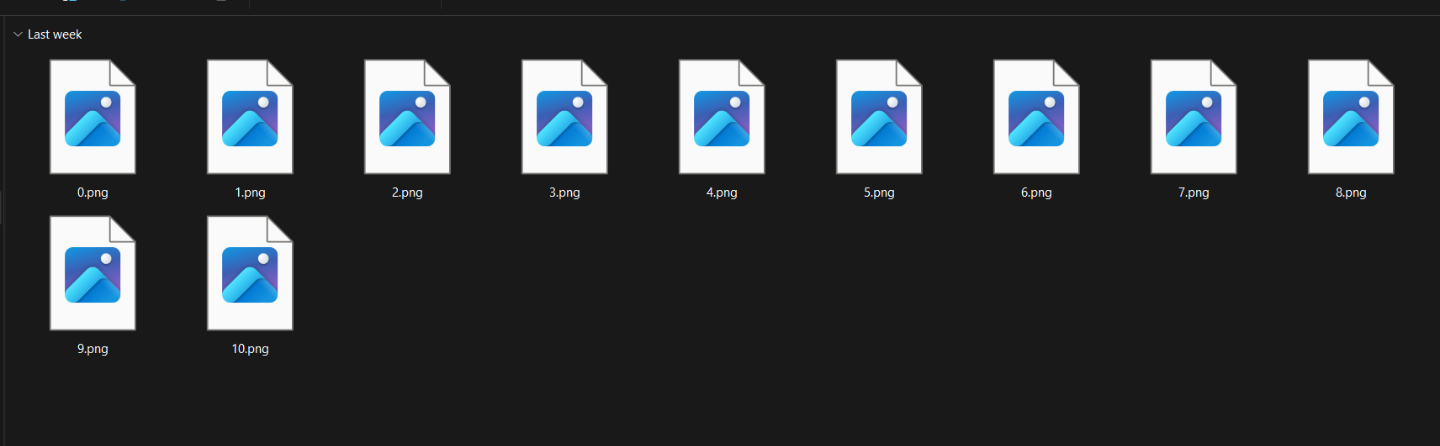
Step 6: Upload your NFT images to the assets folder inside your vault.
You can drop the files or browse via your file explorer.
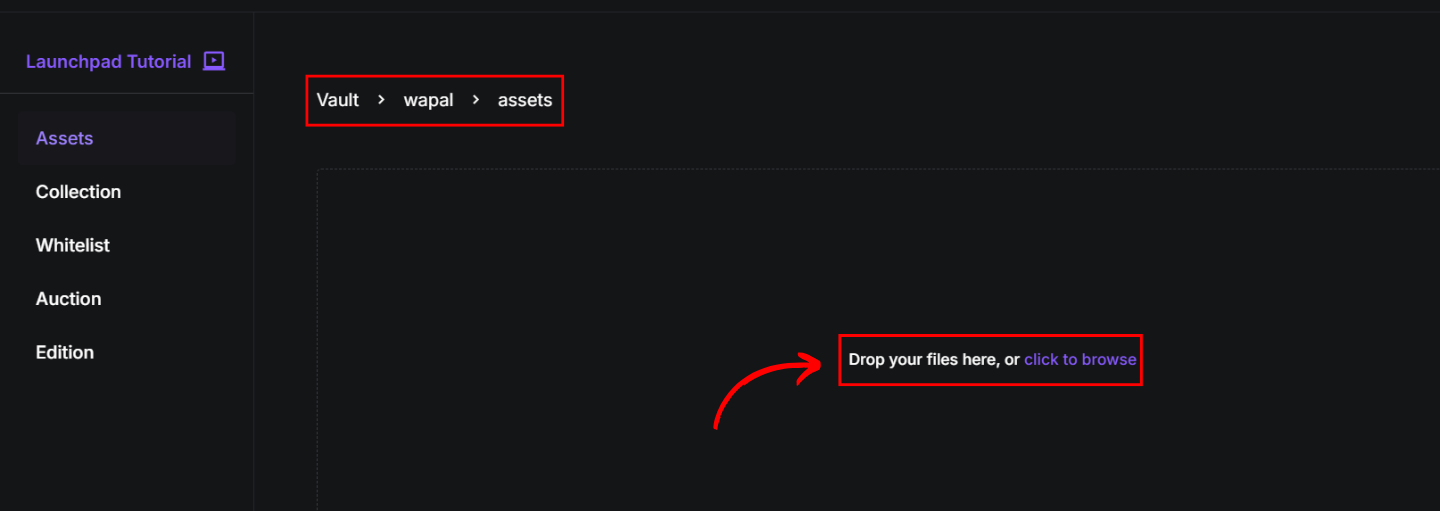
Ensure that the pictures are named in sequence:
0.png, 1.png, 2.png ...
Note: Image processing time depends on size, with large files taking ~20–25 minutes.
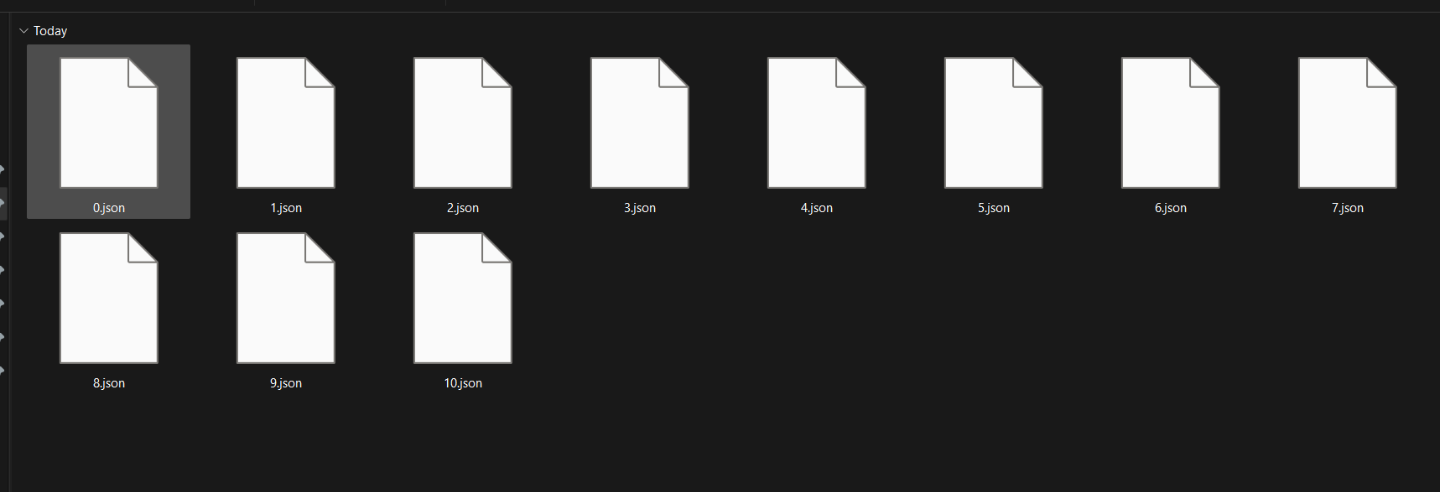
Step 7: Upload the metadata (.json files) into the metadata folder.
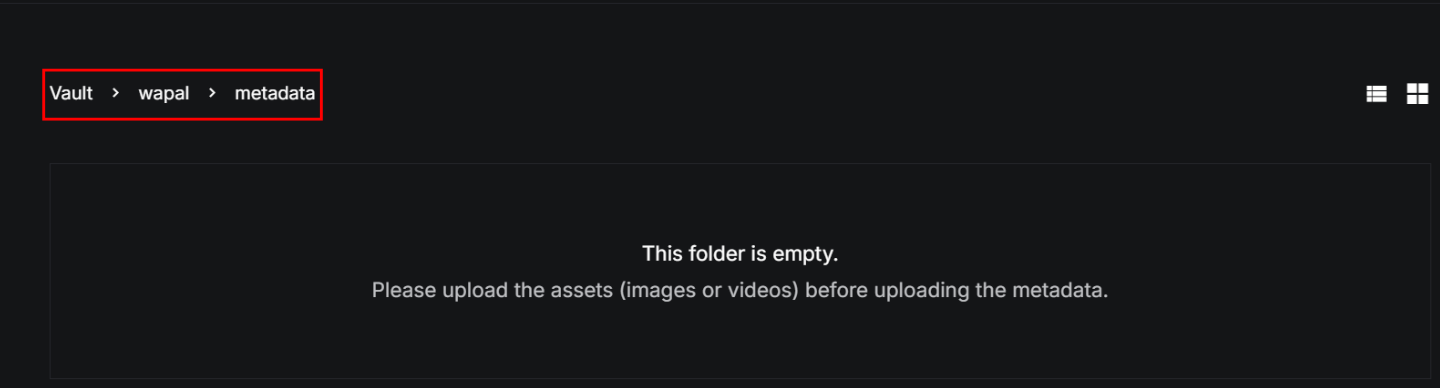
Metadata filenames must follow the same sequence as assets:
0.json, 1.json, 2.json ...
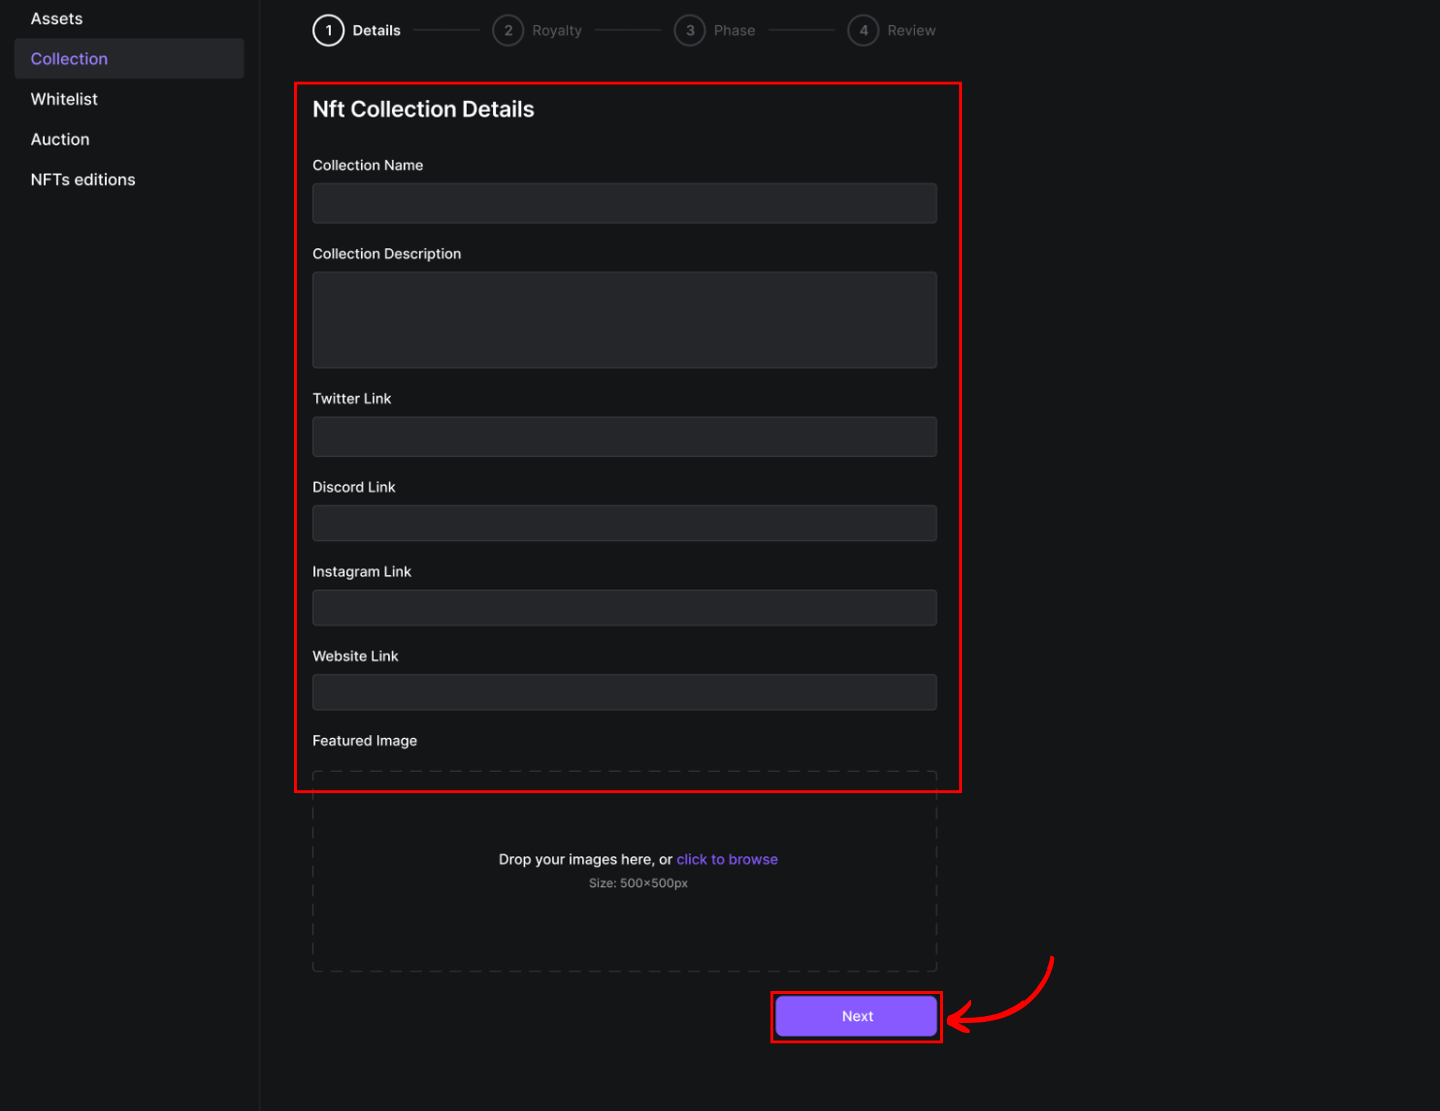
Step 8: Once upload is complete, click Collection from the navigation bar.
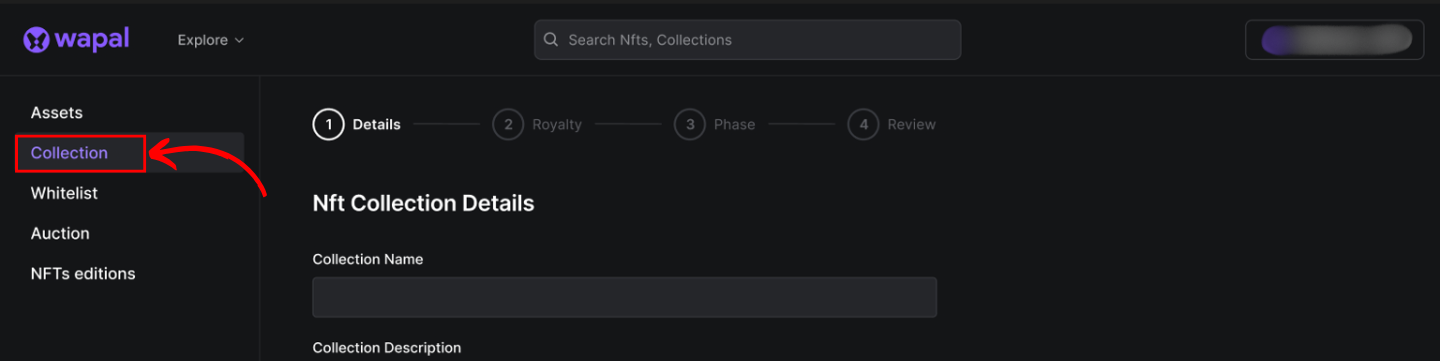
Step 9: Fill in the necessary launchpad information and click Next.
Step 10: Enter the Royalty Percentage and pick the Assets folder you’ve prepared.
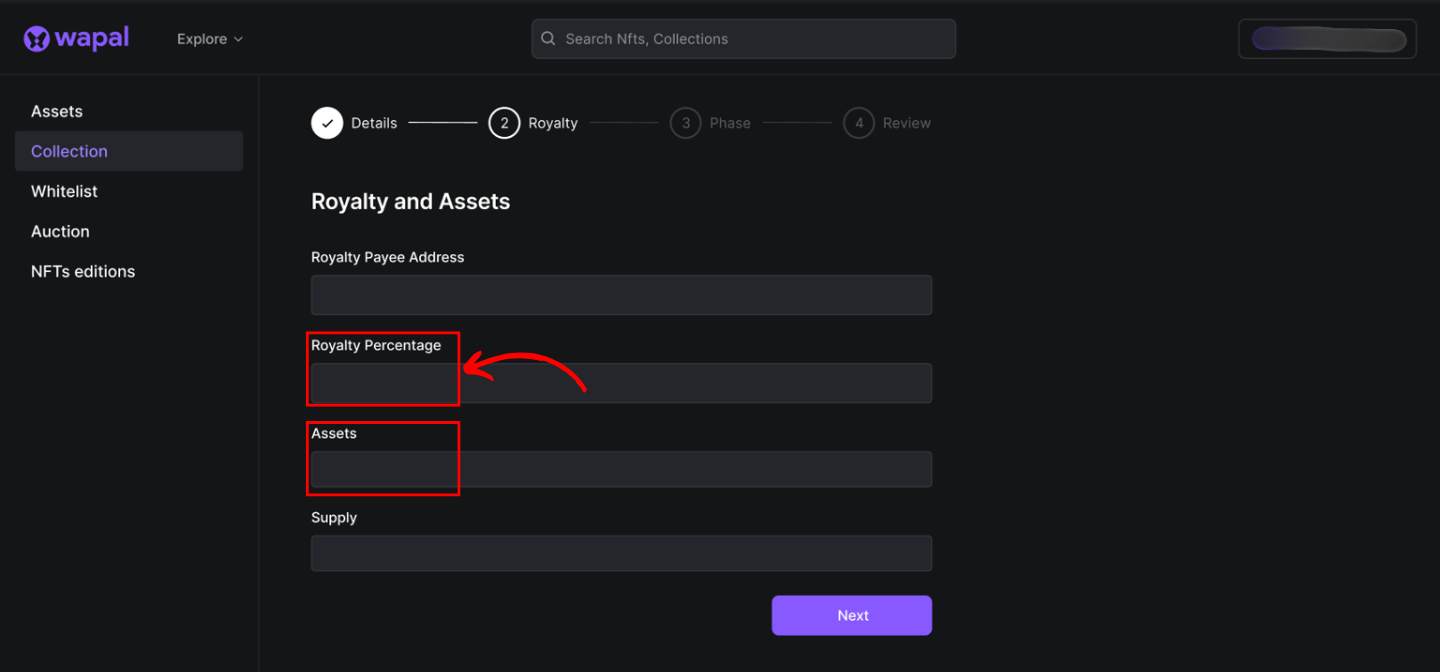
Note: Wapal charges a 3% fee for paid mints and offers 0% fees for free mints. Mint revenue is transferred in real time to your custodial creator address.
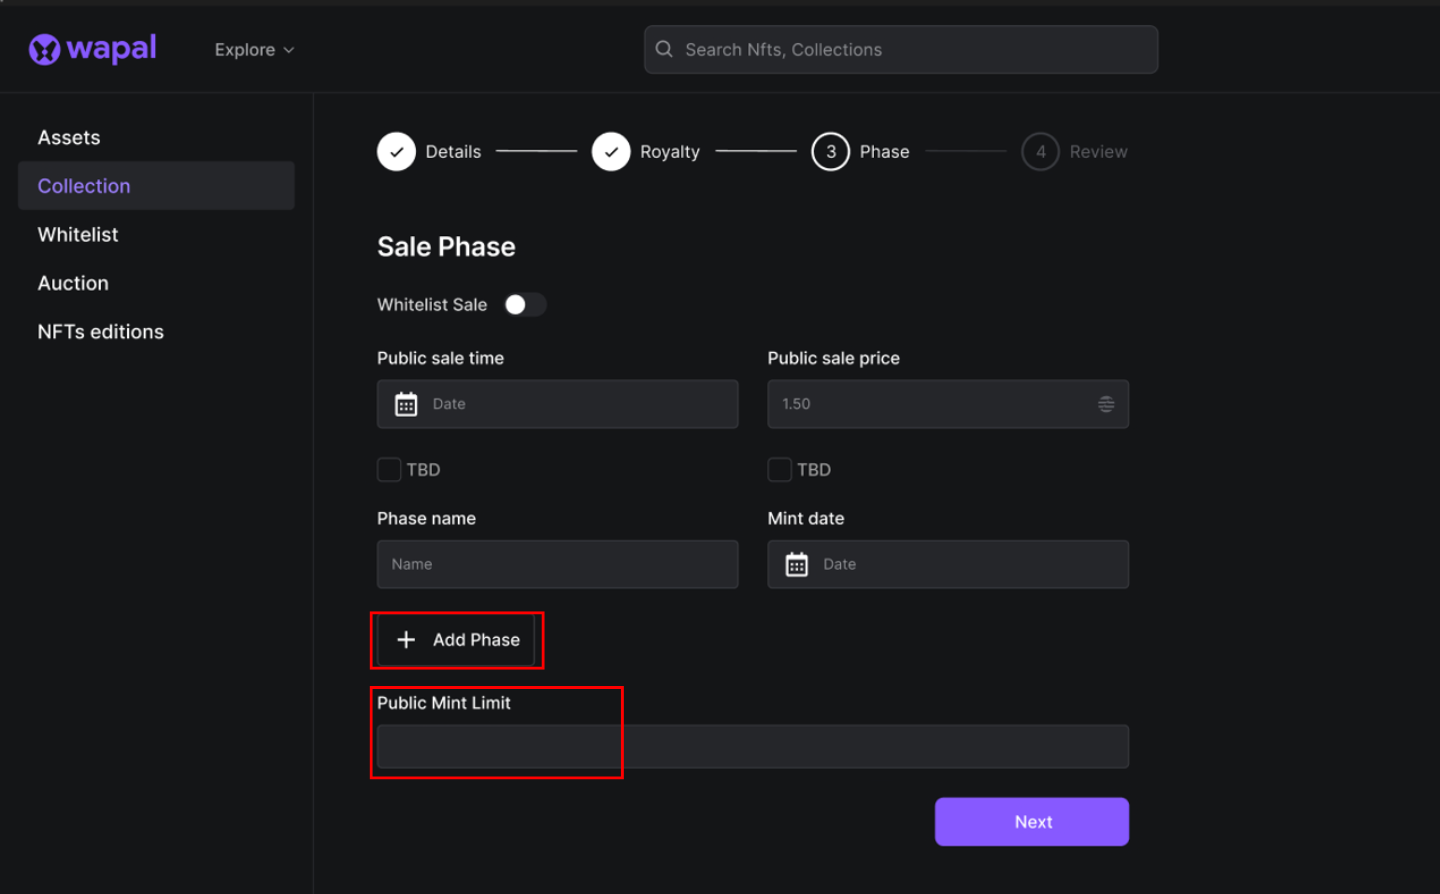
Step 11: Set the mint price and timing.
If you haven’t decided the launch date, check the TBD option.
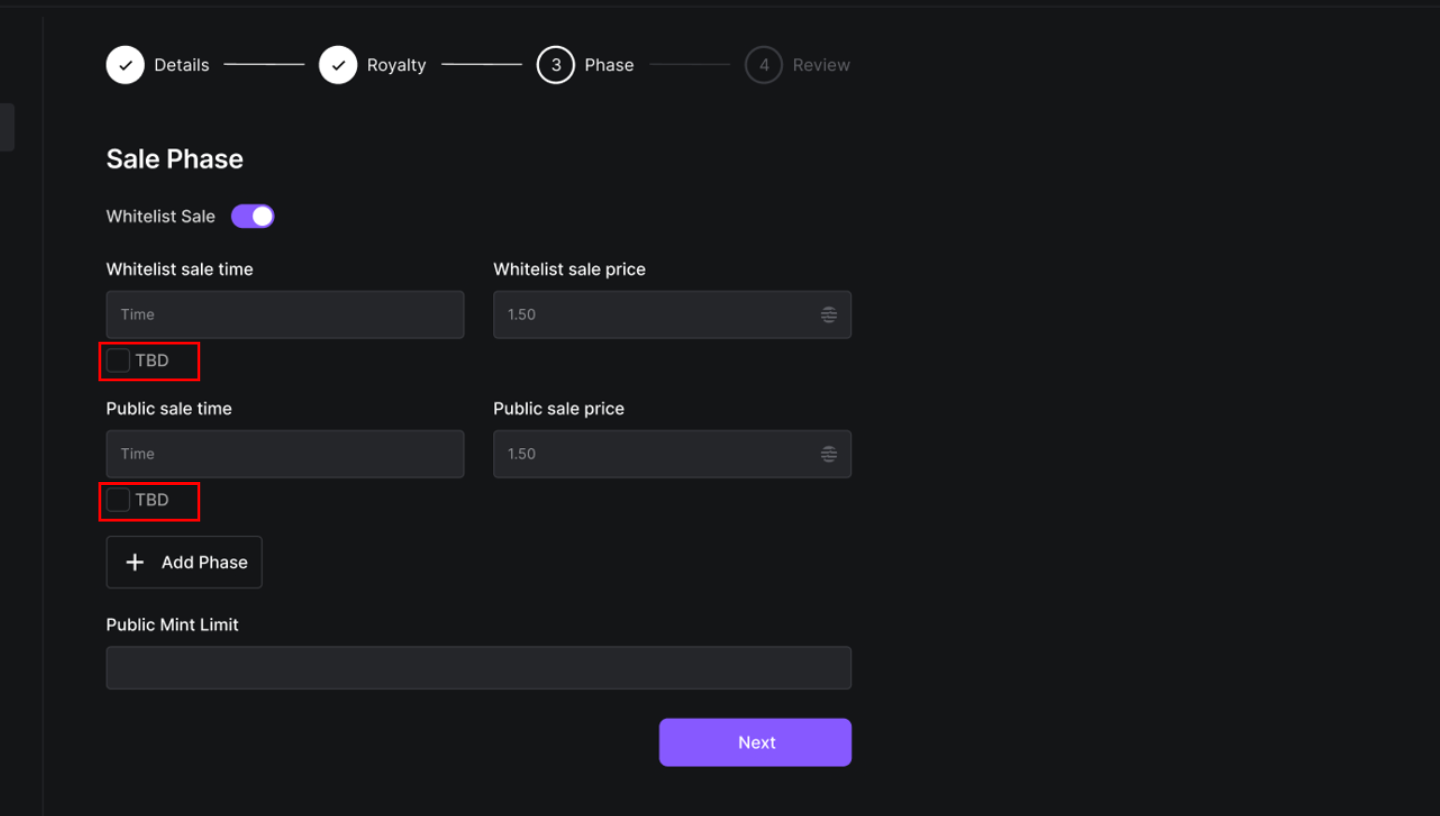
- You can add multiple phases before Whitelist & Public Mint.
- Set Public Mint Limit (0 = unlimited).
Step 12: Create customizable content for tweets.
Users can tweet this automatically after mint execution.

Audio & Video NFTs
Supported file formats:
- Video:
.mp4, .webm, .mkv, .m4v, .avi, .mov, .wmv, .flv, .3gp, .ogv, .mpeg, .mpg, .divx, .rm, .asf, .vob, .ts, .m2ts - Audio:
.mp3, .wav, .ogg, .aac, .flac, .wma, .alac, .aiff, .opus
Step 1: Index files sequentially:
- Video:
0.mp4, 1.mp4, ... - Audio:
0.mp3, 1.mp3, ...
Step 2: Prepare thumbnail images for each NFT:
- Index them as
0.png, 1.png, ...
Step 3: Prepare metadata files:
- Index them as
0.json, 1.json, ...
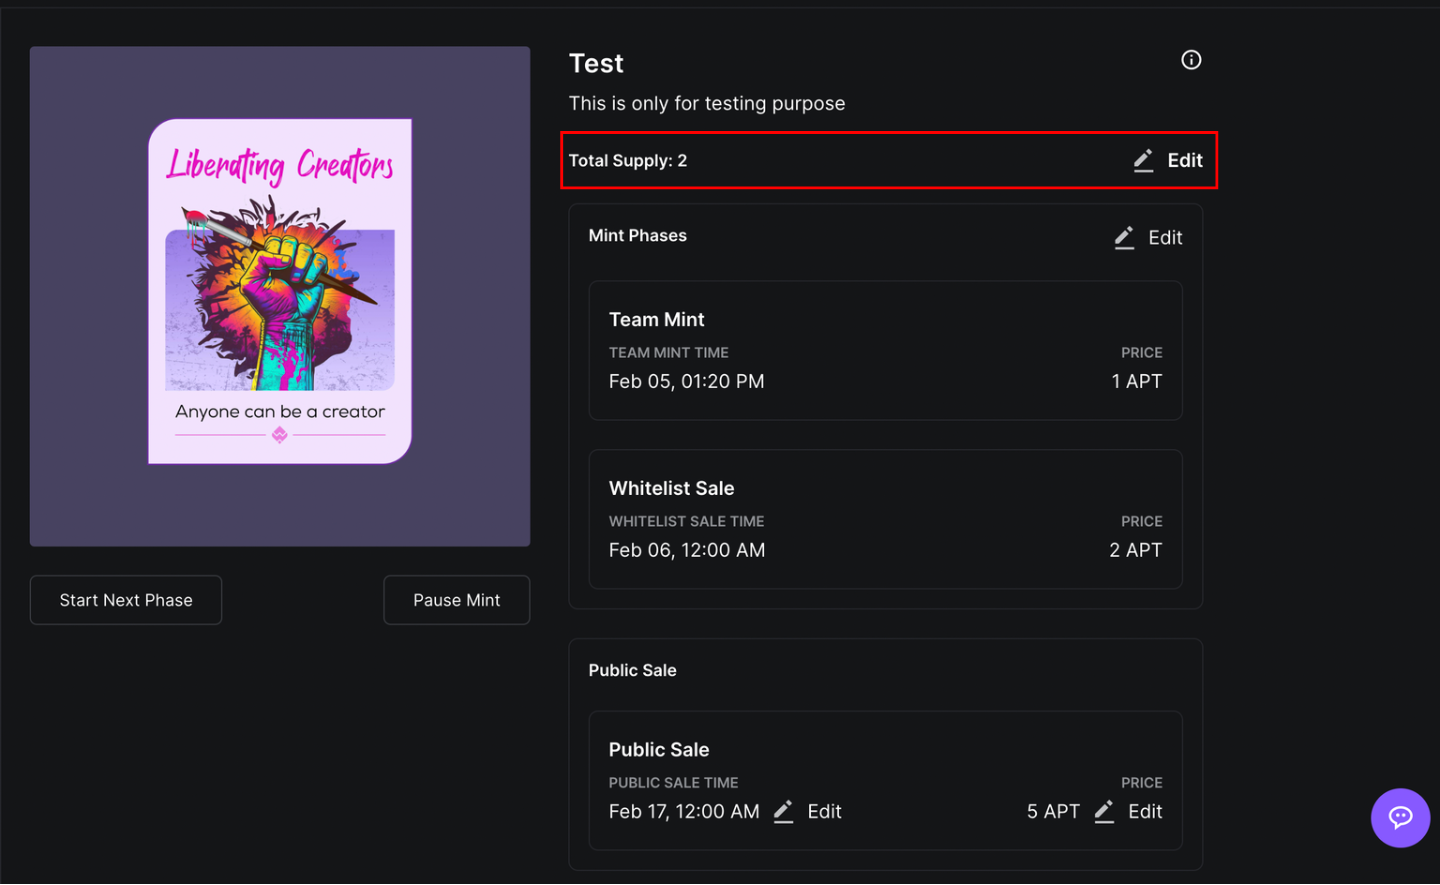
Edit Your Launchpad
This feature lets you customize and manage your launchpad.
- Go to the Collection tab.
- Select your collection to access the edit page.
- You can update:
- Time
- Price
- Supply for the mint
- Cap current minted supply via Total Supply
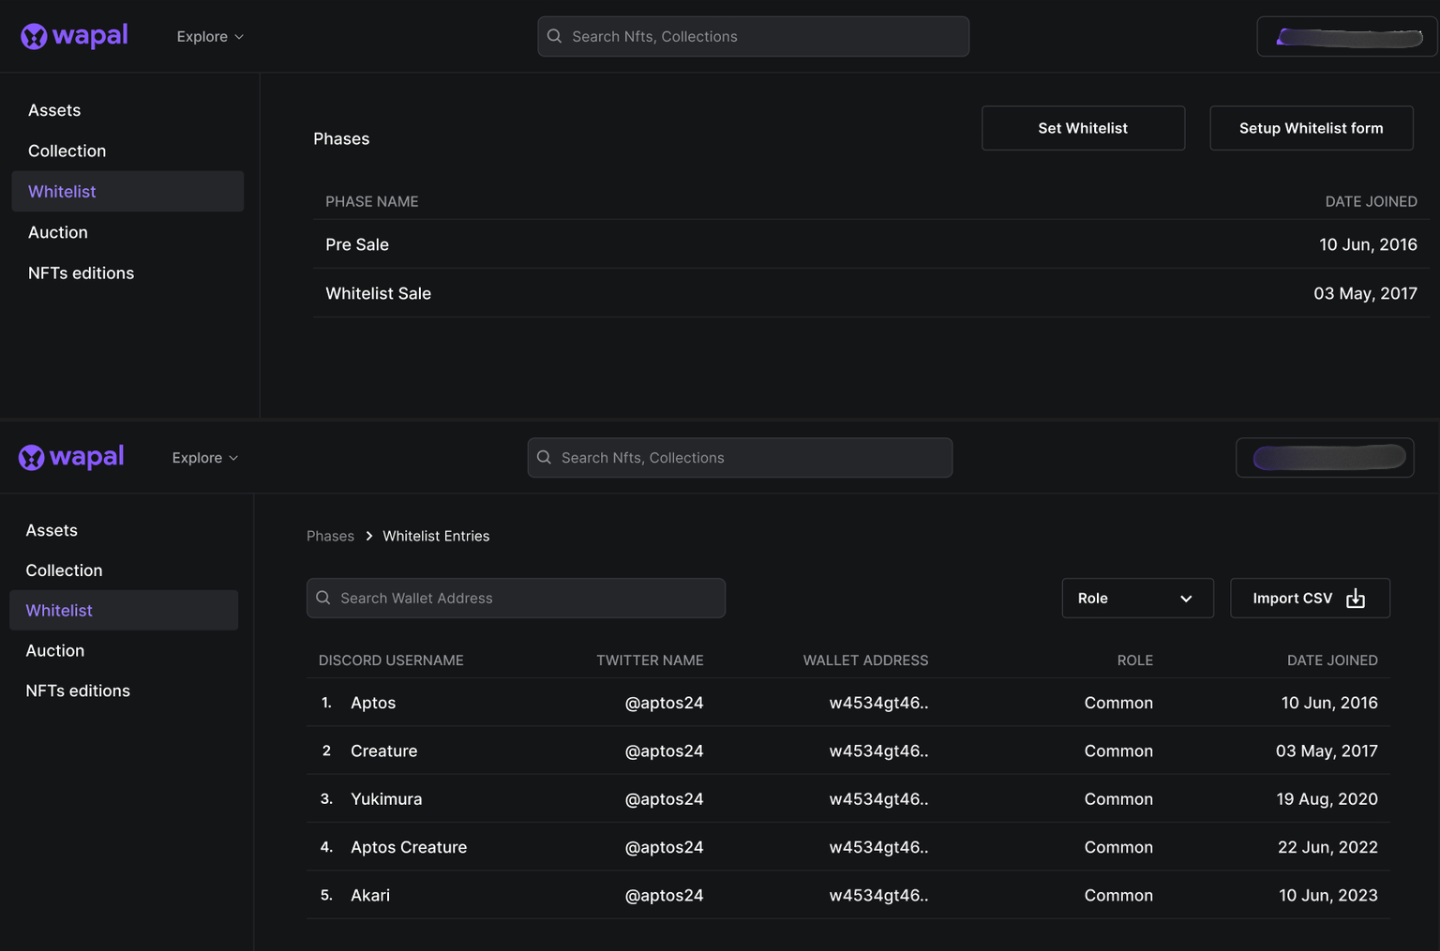
Whitelist
Initiate a Whitelist Campaign for your community with Wapal.
Note: If you already have addresses collected, skip Method 1 and proceed to Method 2.
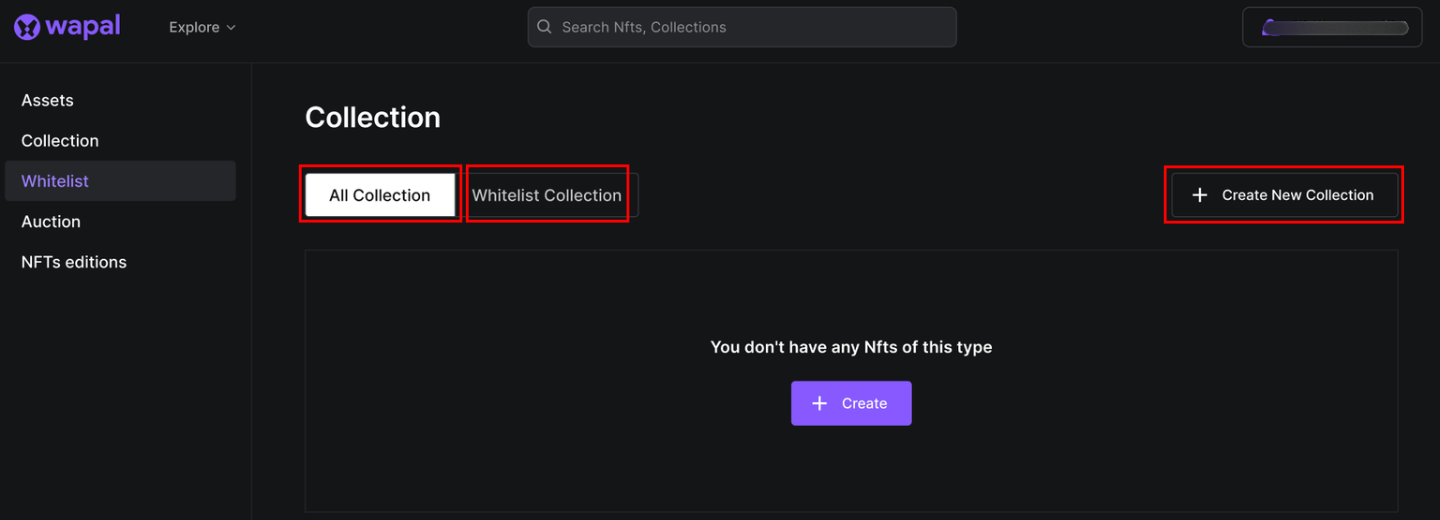
In the Whitelist section, you’ll find three options:
- All Collection: View your created collections/launchpads.
- Whitelist Collection: Access your WL collections.
- Create New Collection: If you haven’t created a launchpad yet.
After creating your launchpad/collection, you can either:
- Launch a Whitelist campaign, or
- Upload collected addresses for your community.
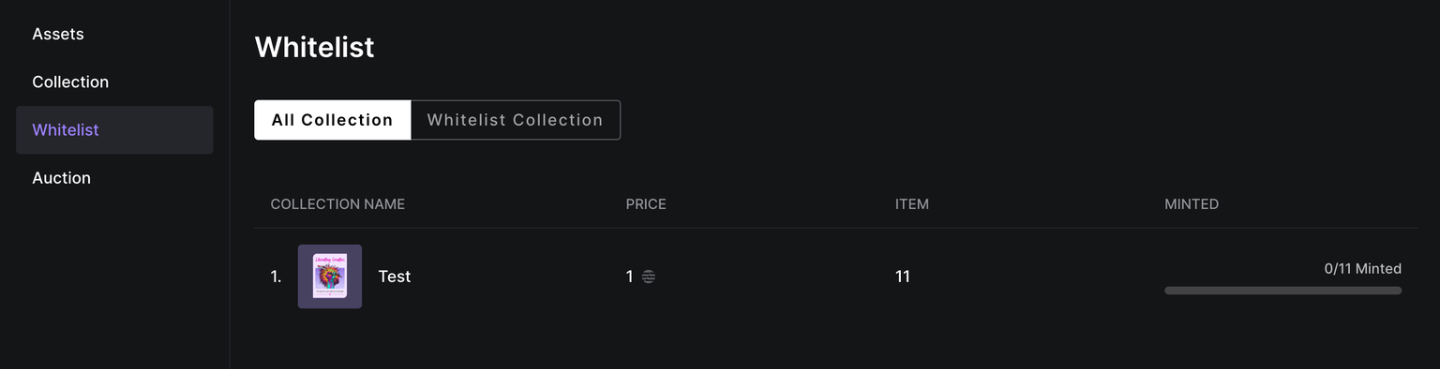
1st Method (Launch Campaign)
Step 1: Locate and select the collection.
Step 2: Click Setup Whitelist.
Step 3: Complete the required details.
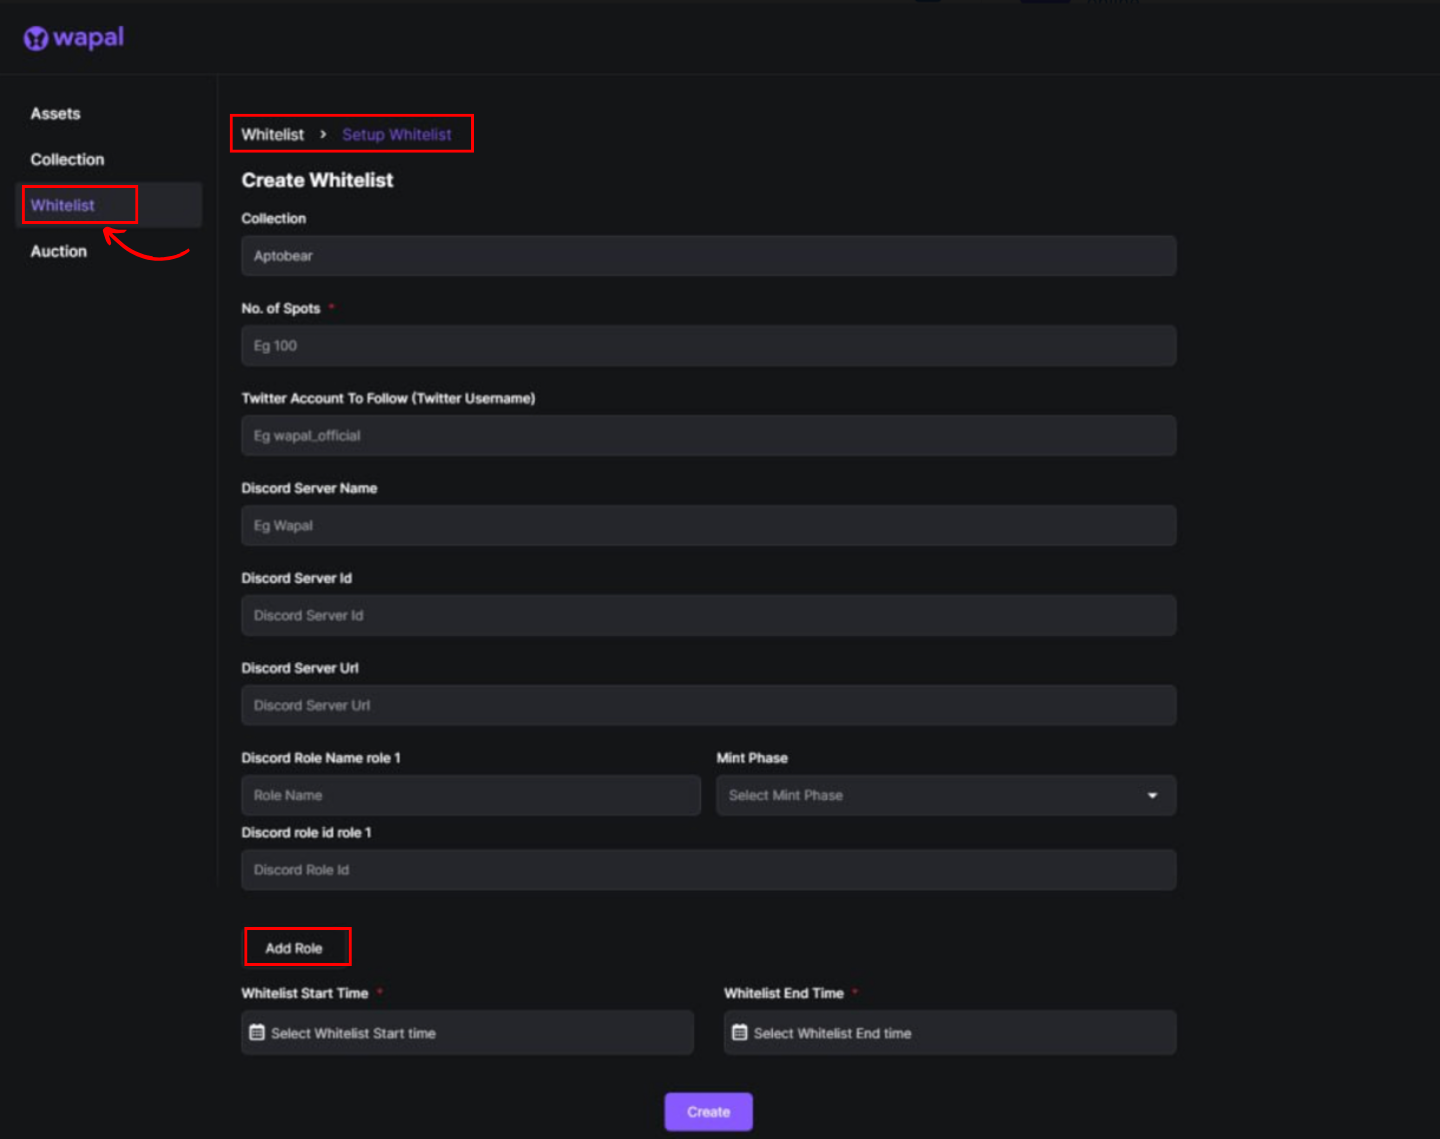
Note: Enter your Verified Role and Verified ID information for your server. You can also add roles and assign mint phases to different Discord roles for selective minting.
After launching a campaign, you can view data about your community.
2nd Method (Import Addresses)
If you prefer not to launch a campaign, import addresses in CSV format.
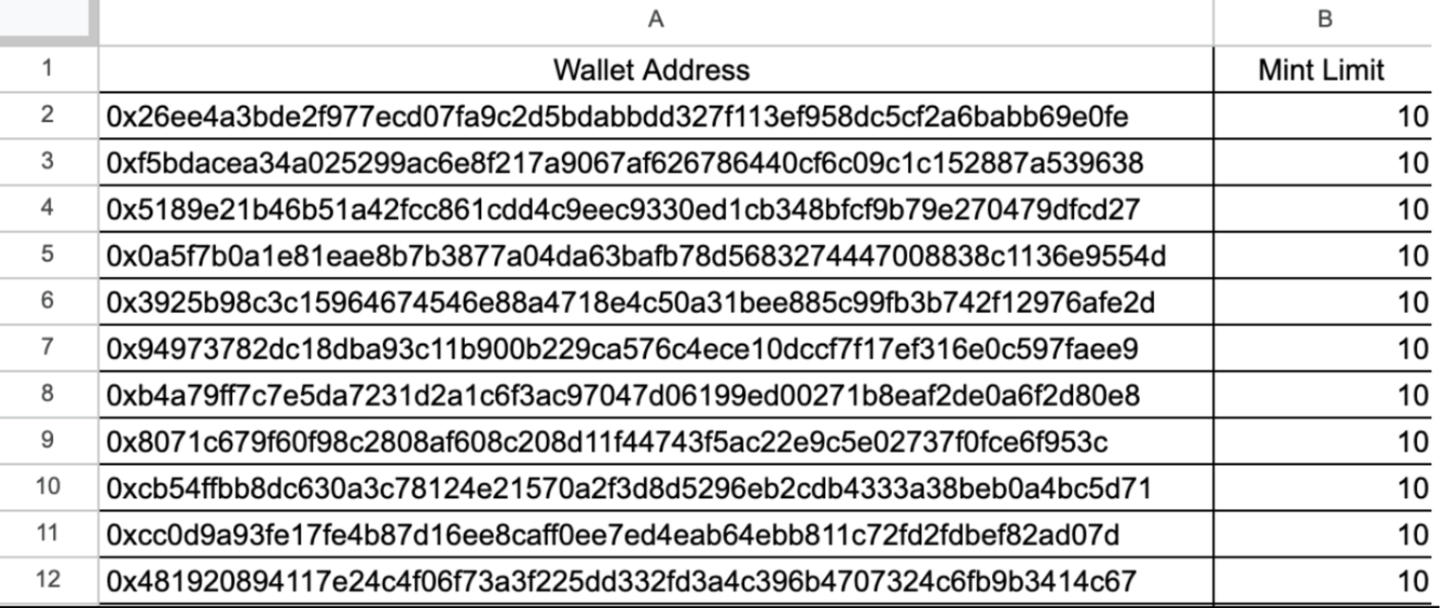
CSV Format:
- Column 1: Wallet addresses
- Column 2: Mint limit for each address
Steps:
- Access the Whitelist section from the navigation bar.
- Select your collection.
- Choose the desired phase.
- Upload the
.csvfile with addresses + mint limits. - Click Set Whitelist to finalize and upload to the blockchain.
Note: If not finalized, addresses won’t be eligible for minting.