🌟Meta - Data Creation
A simple guide to create your metadata for your collection
We understand that creating metadata can be a challenging task for non-technical creators. While we are addressing this issue, we would like to offer further guidance.
For your convenience, we have provided a sample Metadata that must be stored in a folder named 0.json:
{
"name": "Your Collection #0",
"description": "Remember to replace this description",
"image": "https://arweave.net/iilWqlf0vxCBlInL2mD1vM0r7Jyuv0rRMJoZKJrwxhQ/0.png",
"attributes": [
{
"trait_type": "Background",
"value": "Purple"
},
{
"trait_type": "Theme",
"value": "Light"
}
]
}
You need to replace each of the fields in the metadata corresponding to your NFT collection.

Metadata reproduction aid
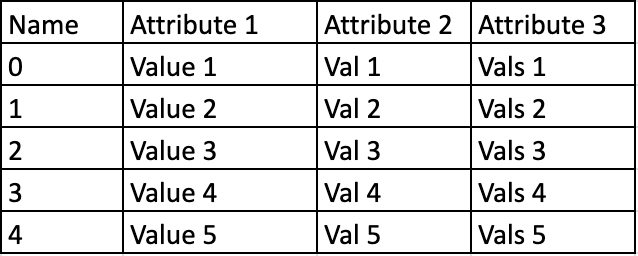
If the attributes of your NFT are in the form of an Excel file, you may replace the NFT name and description of this repository with your own, and proceed to run the script.

Your metadata folder output will looks something like this:

For more details please visit here
Last updated